


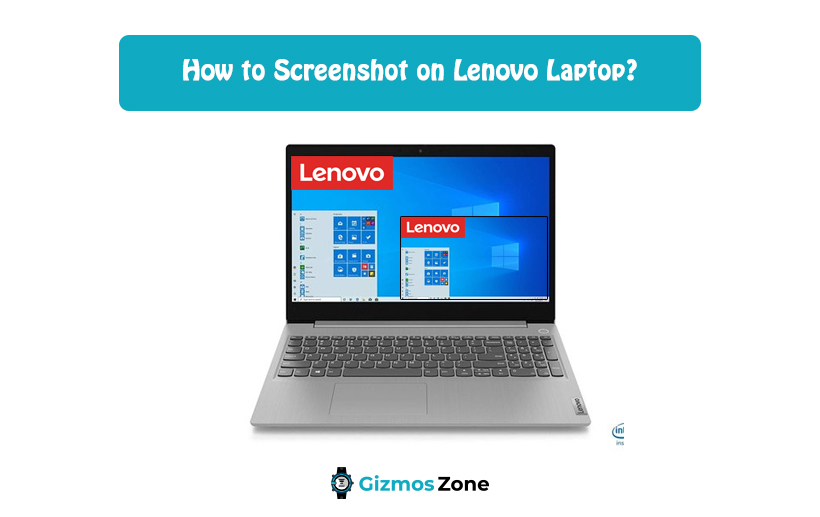
5 Lenovo Screenshot Tricks Everyone Should Know You’re Missing Out On
Are you a Lenovo laptop user? Do you find yourself constantly needing to capture what’s on your screen, whether it’s for work, sharing with friends, or saving important information? While the standard “Print Screen” button might seem sufficient, Lenovo laptops offer a wealth of built-in screenshot tricks that can significantly streamline your workflow and enhance your productivity. If you’re still just using the basic methods, you’re missing out! This article will uncover 5 essential Lenovo screenshot tricks that every user should know.
1. The Classic: Print Screen & Paste (But with a Twist!)
This is the most basic and widely known method, but it’s worth revisiting, especially with a Lenovo-specific tweak.
- How it works: Press the “Print Screen” (often labeled “PrtScn,” “Prt Sc,” or similar) key. This captures a full-screen image and copies it to your clipboard. You then need to paste it into an image editor like Paint, Photoshop, or even a document like Word or Google Docs.
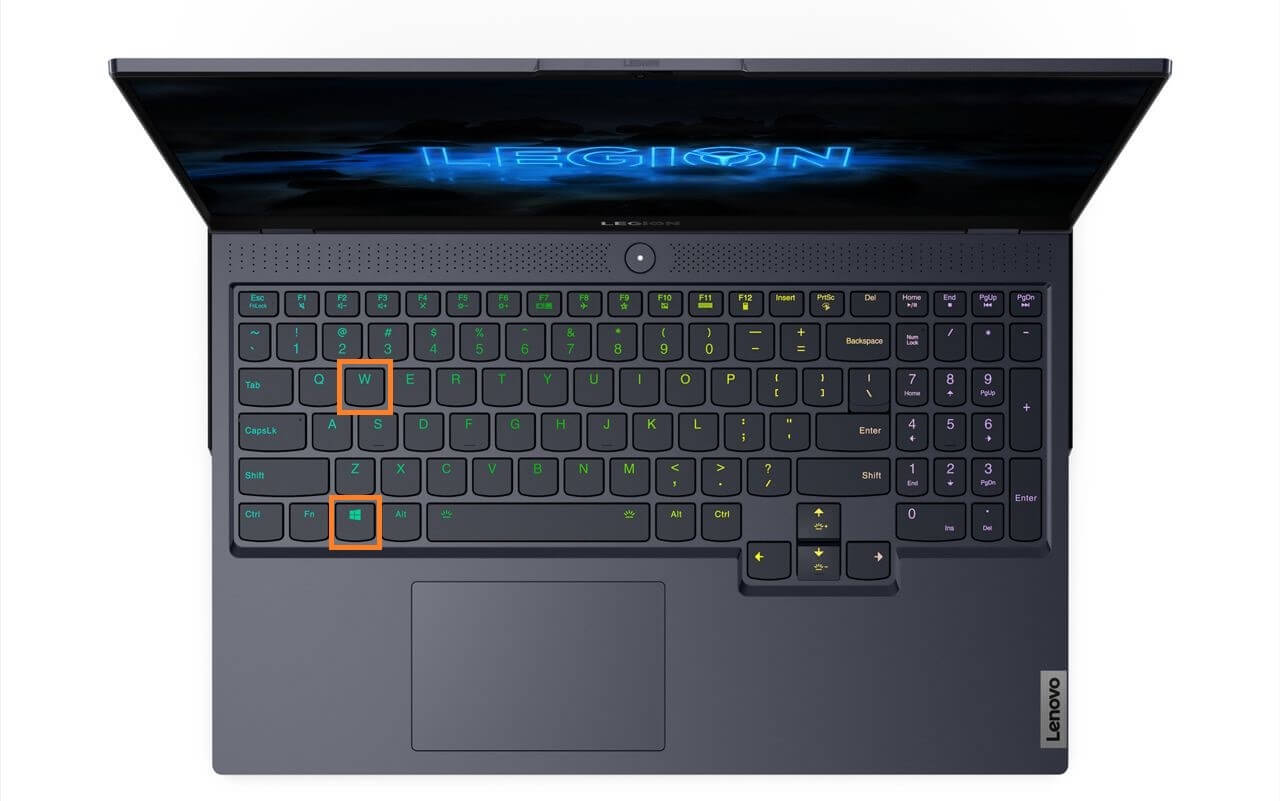
- Lenovo Advantage: Lenovo laptops often have a dedicated “Fn” (Function) key. Pressing “Fn + Print Screen” might enable a different function, like immediately saving the screenshot to a designated folder. Check your Lenovo’s user manual for specific key combinations.
- Why it’s useful: Simple, quick, and works on virtually any application.
2. Capturing a Specific Window with Alt + Print Screen
Sometimes you only need a screenshot of a single window, not the entire screen. This trick is your answer.
- How it works: While the desired window is active (selected), press “Alt + Print Screen”. This captures only that active window and copies it to your clipboard.
- Why it’s useful: Saves time and avoids the need to crop the image later. Perfect for documenting specific application interfaces or highlighting particular sections.
3. The Snipping Tool: Precision and Annotation
The Snipping Tool (or Snip & Sketch on newer Windows 10/11 systems) is a powerful, built-in screenshot utility offering more control and functionality.
- How to access it:
- Windows 10: Type “Snipping Tool” in the Windows search bar.
- Windows 11: Type “Snip & Sketch” in the Windows search bar.
- Functionality:
- Rectangular Snip: Capture a rectangular area.
- Free-form Snip: Draw around the area you want to capture.
- Window Snip: Capture a specific window.
- Full-screen Snip: Capture the entire screen.
- Annotation: Add highlights, arrows, text, and more directly to your screenshot.
- Delayed Capture: Set a timer to capture menus or pop-ups that disappear quickly.
- Why it’s useful: Offers precision, editing capabilities, and the ability to annotate screenshots for clarity. A must-know for anyone creating tutorials or needing to highlight specific information.
4. Game Bar: Screenshots and Screen Recording for Gamers (and Everyone Else!)
While primarily designed for gamers, the Game Bar is a versatile tool for capturing screenshots and even recording your screen.
- How to access it: Press “Windows key + G”. If it doesn’t open, ensure the Game Bar is enabled in Windows settings (search for “Game Bar settings”).
- Features:
- Screenshot: Click the camera icon (or press the Windows key + Alt + Print Screen).
- Screen Recording: Click the record icon (or press Windows key + Alt + R).
- Access to game-related widgets: Volume control, performance monitoring, etc.
- Why it’s useful: Excellent for capturing gameplay, software demonstrations, and any activity you want to record. The screen recording feature is particularly valuable.
5. Using Lenovo Vantage for Support and More (Sometimes!)
Lenovo Vantage is a pre-installed application on many Lenovo laptops. While not always directly related to screenshots, it can sometimes offer related functionality.
- How it works: Open Lenovo Vantage. Look for options related to system management or customization. Some models might offer specific settings to configure screenshot shortcuts or manage screen capture behavior.
- Why it’s useful: While the screenshot options are not always a core feature, Lenovo Vantage can be a central hub for your laptop’s settings. Check it to see if there are any related customization options available on your specific model.
Conclusion: Level Up Your Lenovo Screenshot Game
Mastering these 5 Lenovo screenshot tricks will undoubtedly boost your efficiency and make capturing information on your laptop a breeze. From the simple Print Screen method to the powerful Snipping Tool and Game Bar, you now have a range of tools at your disposal. Experiment with these techniques and discover the ones that best suit your needs. Embrace these Lenovo-specific features to unlock the full potential of your device and optimize your workflow.
FAQs:
1. Where do my screenshots save by default?
- Generally, screenshots taken with “Print Screen” or “Alt + Print Screen” are saved to your clipboard. You need to paste them into an image editor or document to save them. Screenshots taken with the Snipping Tool are typically saved in a designated folder (often “Pictures” -> “Screenshots”). Screen recordings are usually saved in the “Videos” -> “Captures” folder. The Game Bar allows you to customize the save location.
2. My Print Screen key isn’t working. What should I do?
- First, make sure the “Print Screen” key isn’t disabled in your BIOS settings. Second, try pressing “Fn + Print Screen” to see if that activates it. If neither works, check your keyboard drivers and consider updating them.
3. How can I change the default save location for screenshots taken with the Snipping Tool?
- Unfortunately, the Snipping Tool (and Snip & Sketch) does not offer direct control over the default save location. However, you can move the “Screenshots” folder itself. Right-click the “Screenshots” folder in your “Pictures” directory, select “Properties,” go to the “Location” tab, and change the save path.
4. Can I customize the screenshot shortcuts on my Lenovo laptop?
- The ability to customize screenshot shortcuts depends on your Lenovo model and installed software. Check Lenovo Vantage or your system settings for any available customization options. Third-party software like AutoHotkey can also be used to create custom hotkeys.
5. How do I take a screenshot of a specific region in the Snipping Tool?
- Open the Snipping Tool (or Snip & Sketch). Click the “New” button. Then, use your mouse to click and drag a rectangle around the area you want to capture.
